Deploying a New Round of PSindex™ Surveys
Congratulations on employing a new round of PSindex™. We have made some updates to make the experience smoother and reporting features more helpful. Follow along with the steps below for a walk-through of the updated PSindex™ process:
- Click on the new icon, with a checkmark on it, on the left side of the home page of your organization on the LeaderFactor Platform.
- At the bottom of the pop up of this "Surveys" icon, select the button labeled "+New Survey."
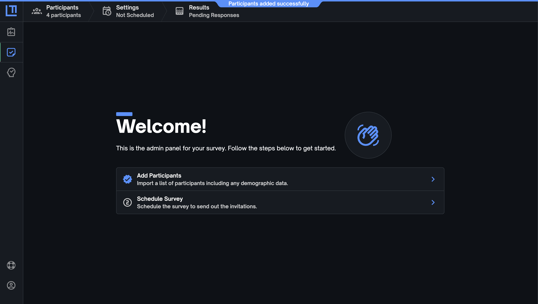
- When the Welcome page comes up, enter a survey name that is fitting for the sample you are surveying this time.

- Follow along the 3 flagged phases of the PSindex™ experience by starting with phase 1 "Add Participants."

- Download the template by making a copy as directed, and then copy and paste the information in the google sheets page into the pop up on the Platform. As you decide how to group you participants, you can use the template's drop down options to choose between Manager's email to group them together in intact teams or you can organize them by team name/department name if you prefer that way of grouping. There is a drop down option for language options for each participant (the available languages in that drop down menu are the only current translated options).

- You can also select the option "No thanks, I'll enter rows manually" and input participants and their associated information manually.

- You can also select the option "No thanks, I'll enter rows manually" and input participants and their associated information manually.
- After this upload, follow the instructions to match the items of the spreadsheet with what they represent, review the spreadsheet as appears on the platform, and confirm by selecting the import button on the bottom right hand corner of the screen.


- If you are being notified of an error you can adjust that row or line item or fix the template and re-import.
- You can also delete a participant's row by clicking on the (-) sign on the right hand of the rows under the title "Actions."
- Download the template by making a copy as directed, and then copy and paste the information in the google sheets page into the pop up on the Platform. As you decide how to group you participants, you can use the template's drop down options to choose between Manager's email to group them together in intact teams or you can organize them by team name/department name if you prefer that way of grouping. There is a drop down option for language options for each participant (the available languages in that drop down menu are the only current translated options).
- Follow along the "Settings" page for scheduling & customization items.
- See instructions and examples below certain sections for more context. Reach out to your CSM if you are struggling to schedule the survey.


- Click "Preview the Invitation Email" and "Reminder Email" to see your message on the email invitation participants will receive from leader-factor@no-reply.com.

-
- Click the big blue "save" button at the bottom of the page to finish scheduling.
- See instructions and examples below certain sections for more context. Reach out to your CSM if you are struggling to schedule the survey.
**During the survey period, after the surveys have already been deployed, admins will be able to come back into the "participants" banner and edit their participants' info, add or edit attributes in the "schedule survey" banner, and re-send invitation emails as pictured below.
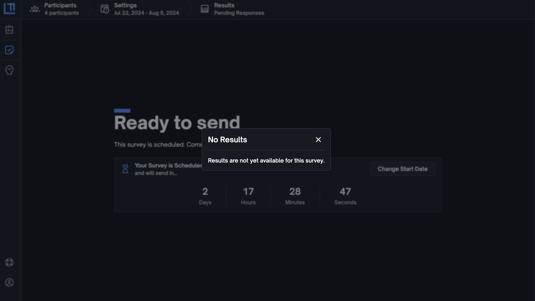
6. Check in on the countdown that comes up as you await your survey launch time. To change the survey start date click on "Change Start Date" button on the top, right corner. Adjust any of the details from the initial process and then re-save to complete the scheduling. 
-
- Please see the Knowledge Base articles on the "Heat Map" features to learn how to maximize our data analytics Heat Map as you navigate your results over time.
** Updates:
The main changes to the PSindex™ training admin set up are:
- Everything is contained in the same page: participant enrollment, scheduling and filtering demographics, and the data analytics features once survey reports close.
- The csv template is embedded in the enrollment process and can be copied and pasted into the platform. There is also an option to enter participants manually, and add them after already having scheduled the survey.
- Surveys will no longer be segmented into intact teams by default. Participants can be grouped by custom groupings like "Team Name" now. While "Manager Email" is one way you can still segment the data, different demographic groupings can be also made now (see drop down menu in csv allows for the label "Team Name" or a custom label you input).
- Due to this change, the survey invitation welcome screen will no longer specify the need to answer the survey with their intact team in mind.
- A countdown page until the survey launches so you can more easily track progress.
- More filtering options when segmenting data is desired.
- Features have been added to the Heat Map -- like participation rate, more filters, etc.
- Before:


- After:


